illfindit - I've read several papers on this as well and while there are actually several metals you can use, the general consensus is that stainless steel is the best for iron-based objects. The downside (aside from cost) is, as I mentioned, the chemical byproducts - hexavalent chromium being the nastiest. So for the home hobbyist, it's not recommended.
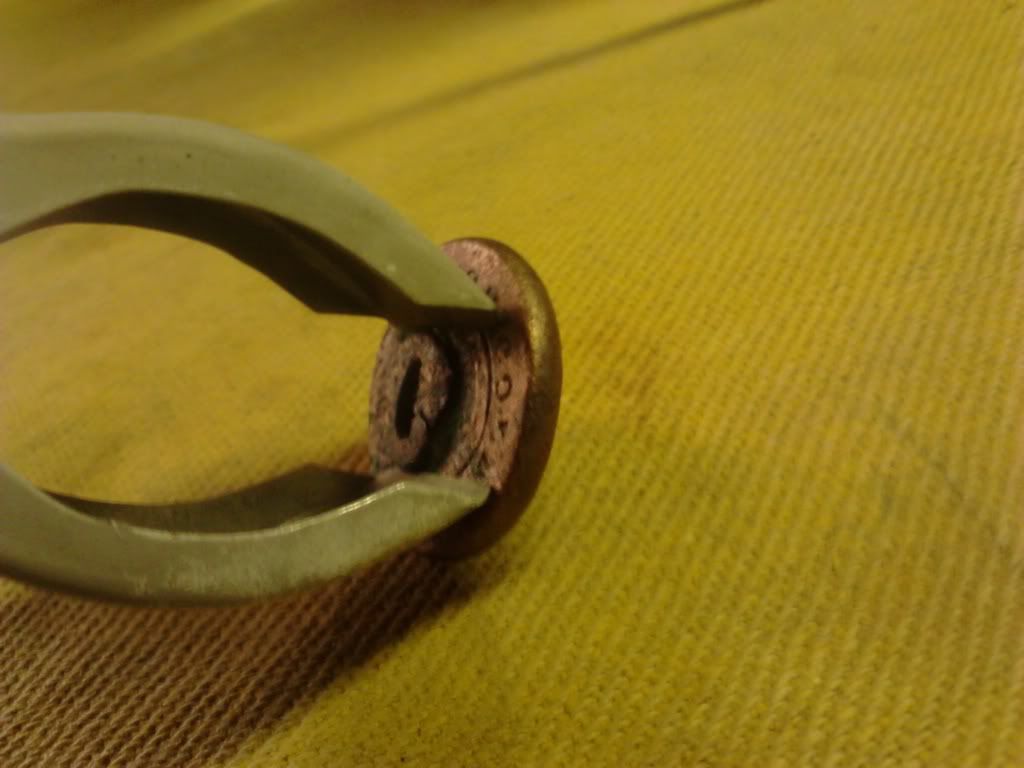
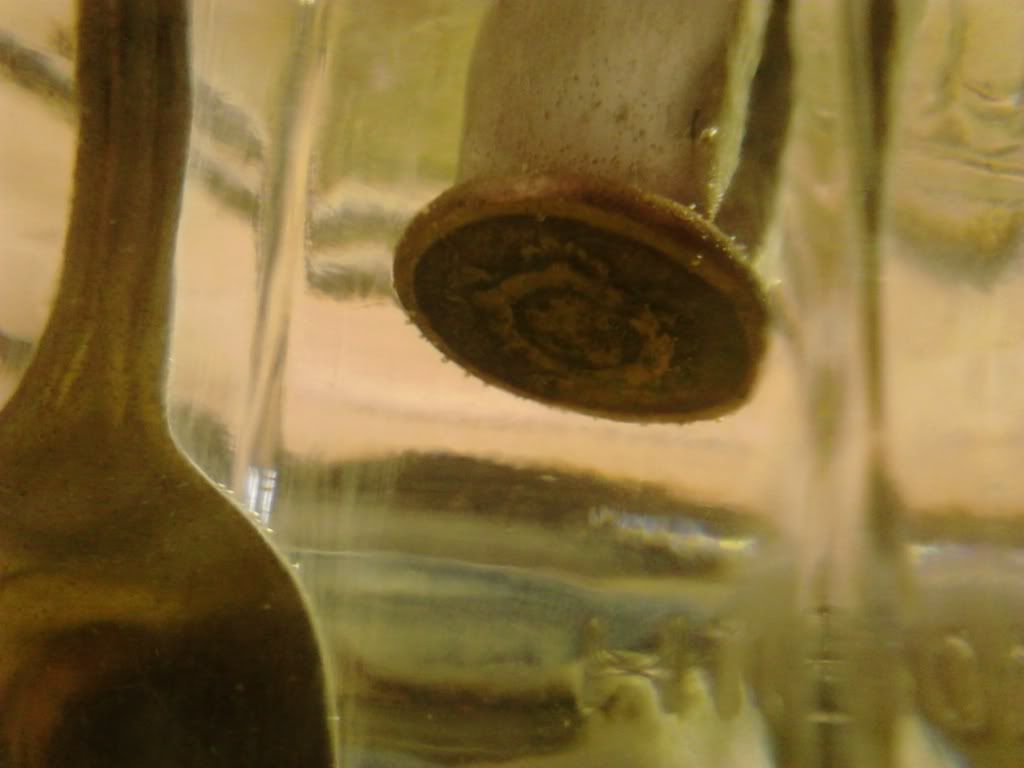
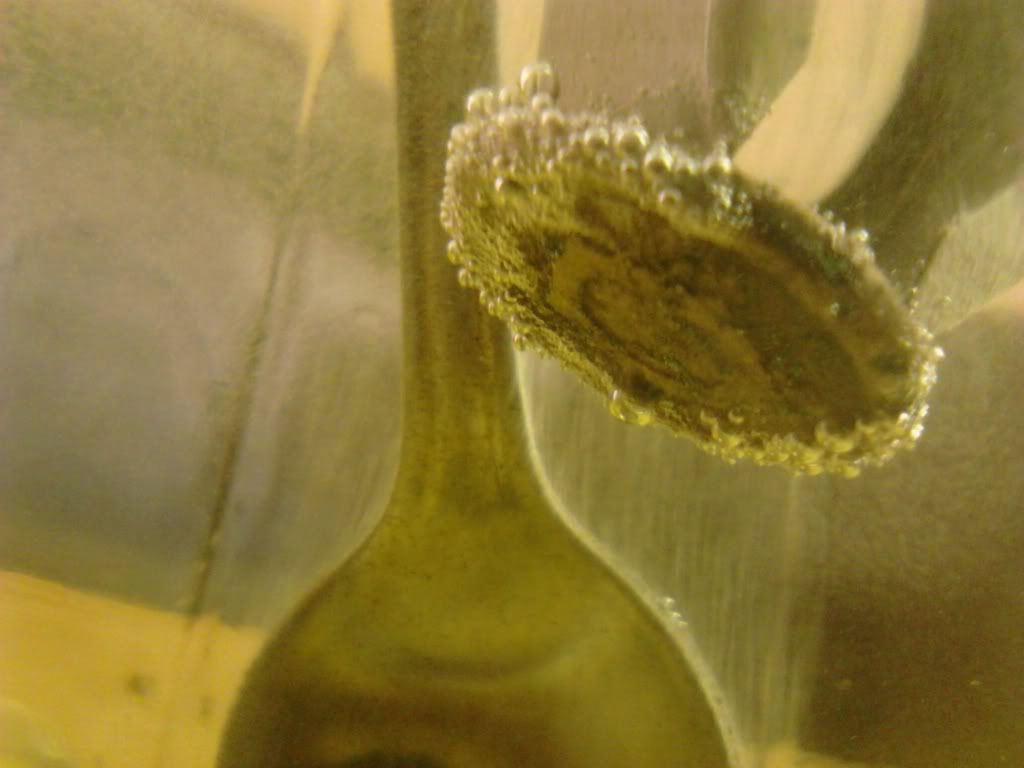
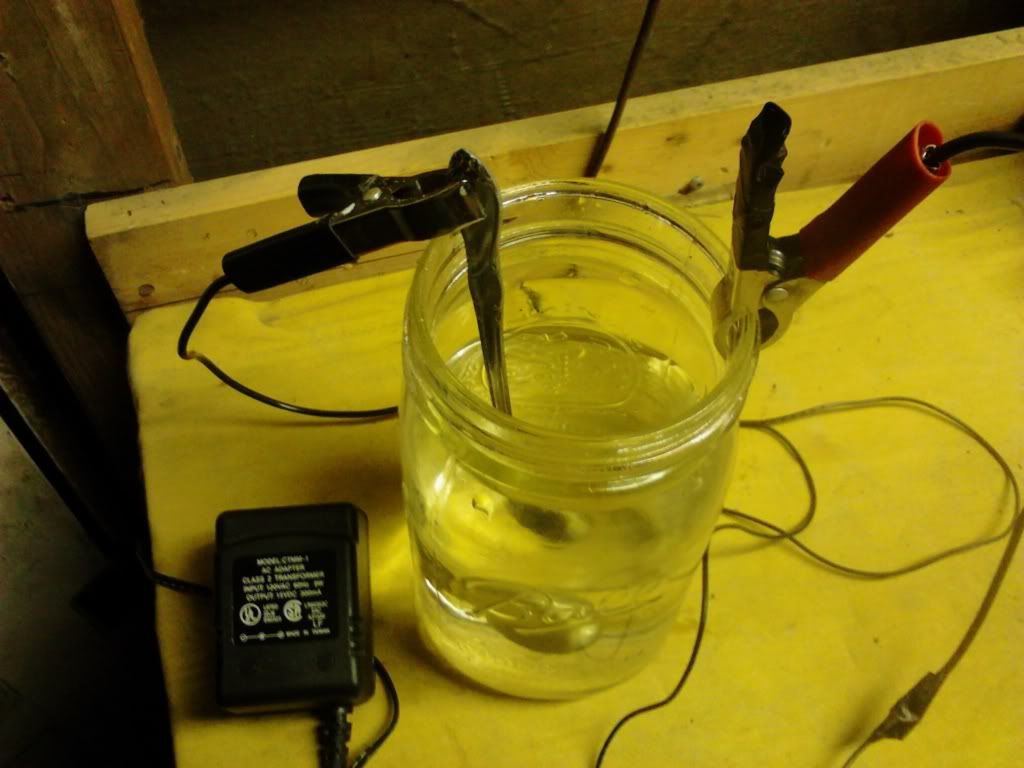
Experts typically recommend a material with a lot of surface area and recommend conforming it to the shape of the object (without touching it). That's why materials like expanded steel mesh work really well. The reason being is the greater the surface area, and the closer the proximity, the faster and more thorough the transference of ions. Of course you can do it with re-bar, sheet metal or any similar material and it should work just fine. I suppose it's akin to using a hammer or a screwdriver handle to pound a nail - they'll both do the job, but one tends to do it better than the other.

As far as the power source, one opinion is that the greater the amps the faster the cleaning. This may be true but there are several problems with this, including the potential of burning out your power source. In some cases you may also damage the item(s). That's why when dealing with very rare or precious artifacts, low and slow is usually best to guarantee minimal damage or loss. Obviously professional restorers, universities, museums, etc. will have more complex setups with top quality (and expensive) equipment as well - not to mention
l-o-t-s of time. But for the home hobbyist, these small setups seem to work just fine.
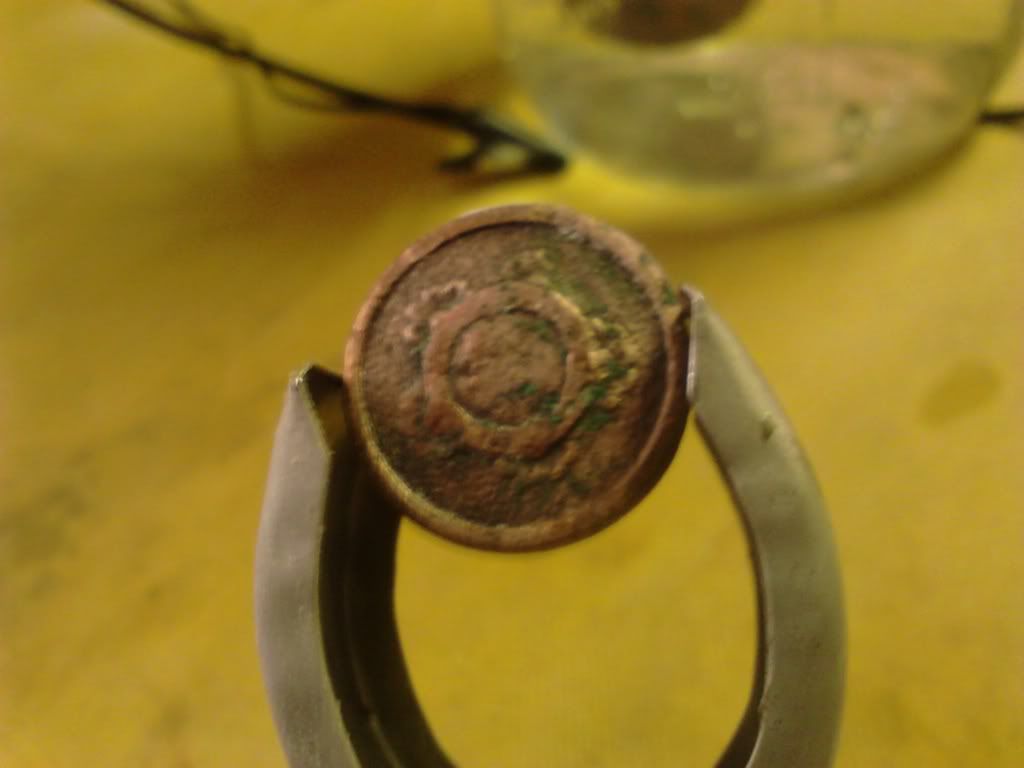
As far as after-care, this usually has to deal with drying the item thoroughly and rust prevention. A lot of professionals use paraffin wax for smaller items. The reason being is the high melt-point temperature will steam off any water remaining in the object and will form a nice matte, rust-preventative layer on the object. In fact, a member on here did a few axe heads awhile back using this method and they turned out fantastic (in my opinion).
That's my two cents - Good luck!

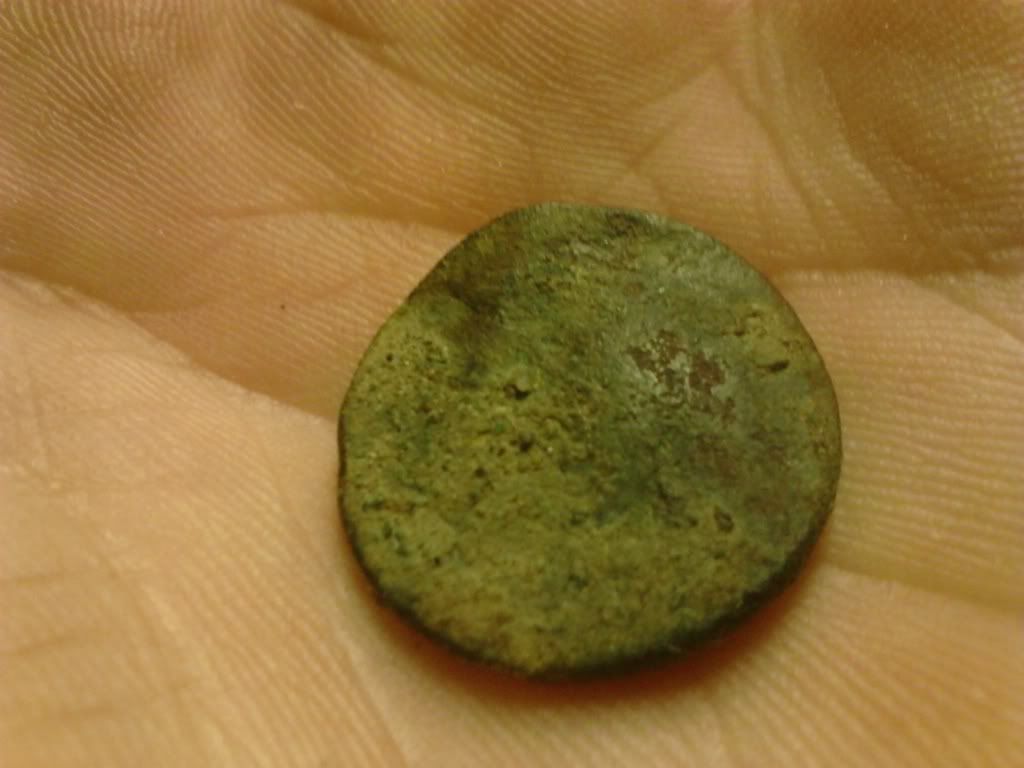
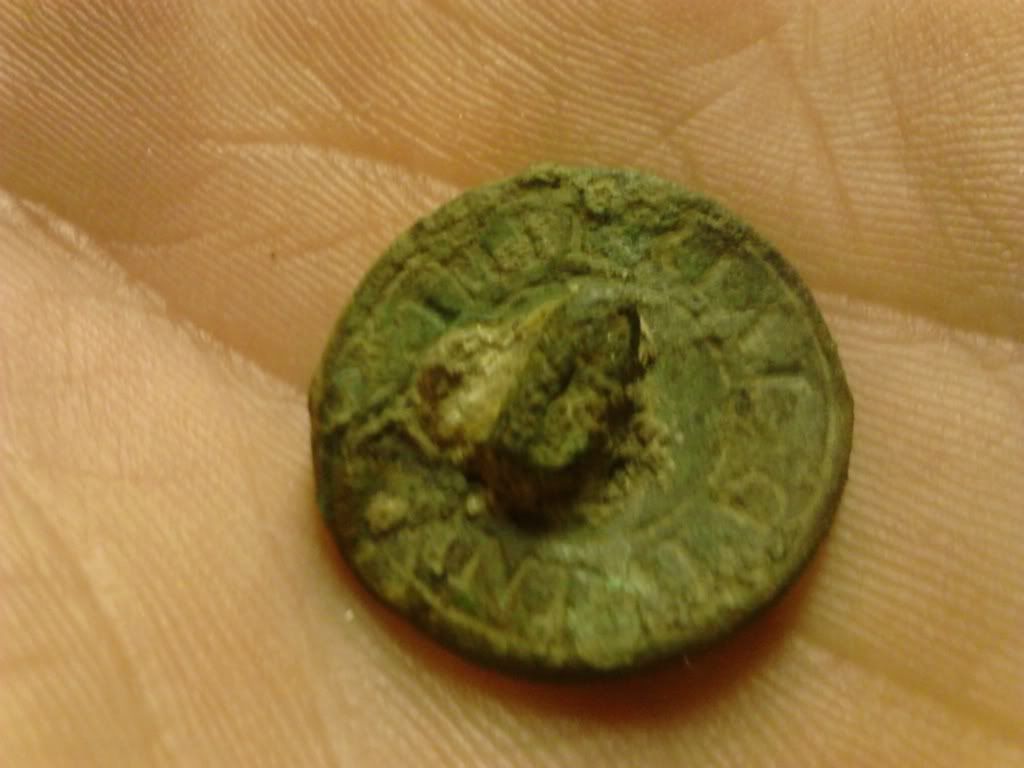
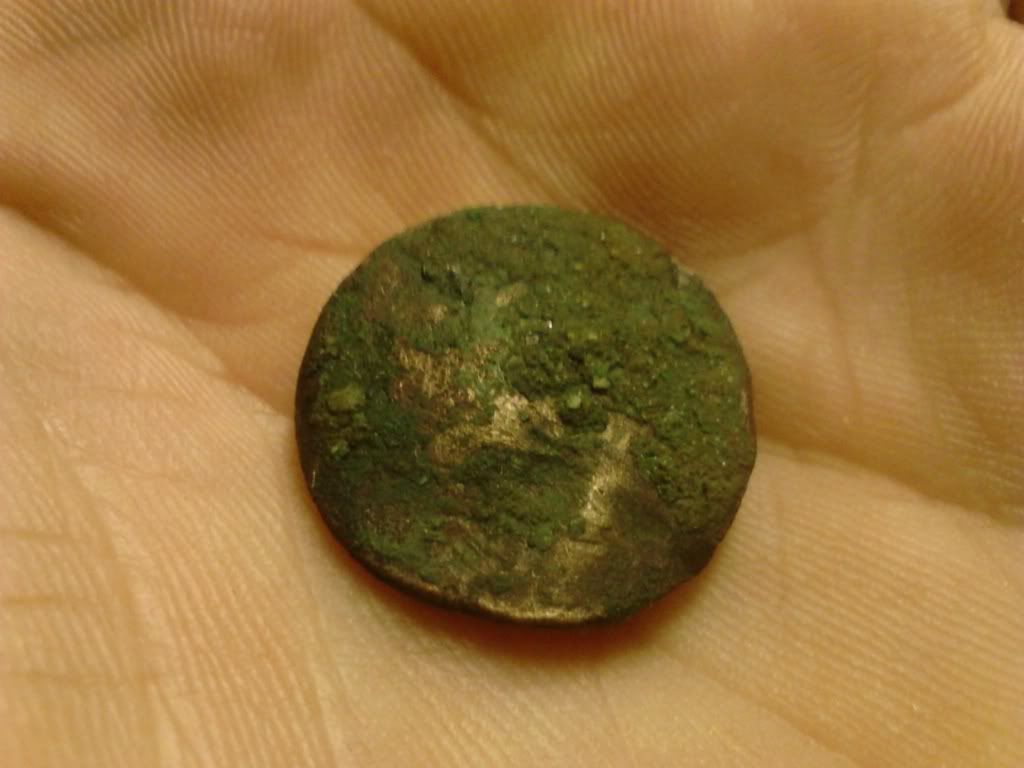

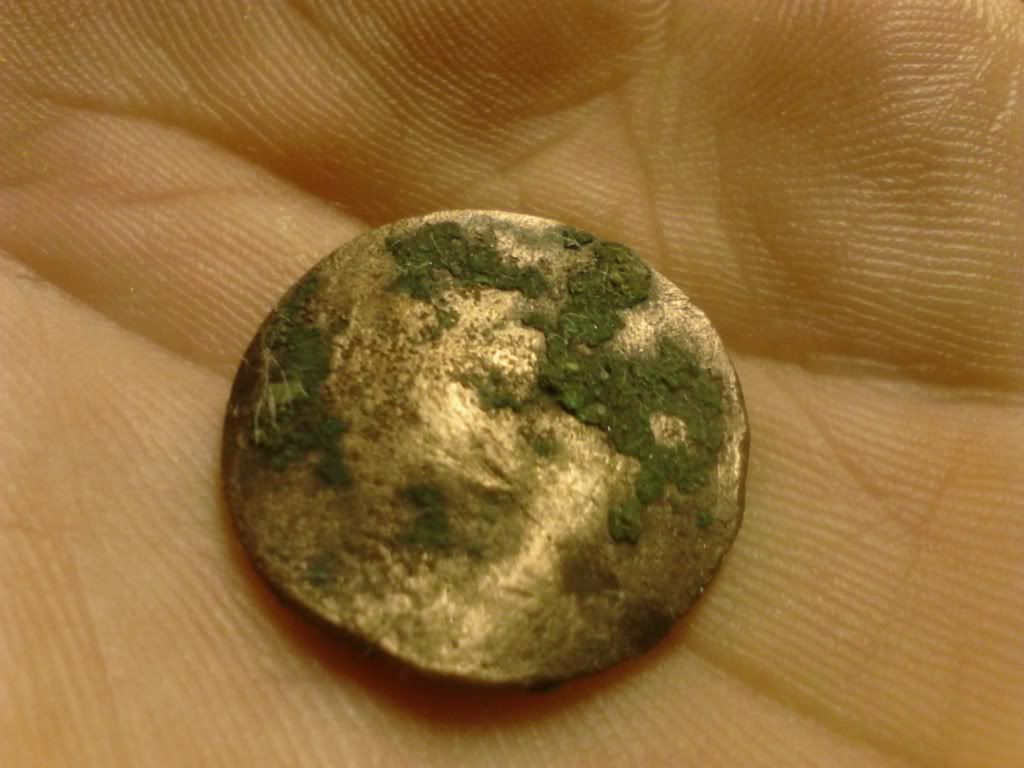
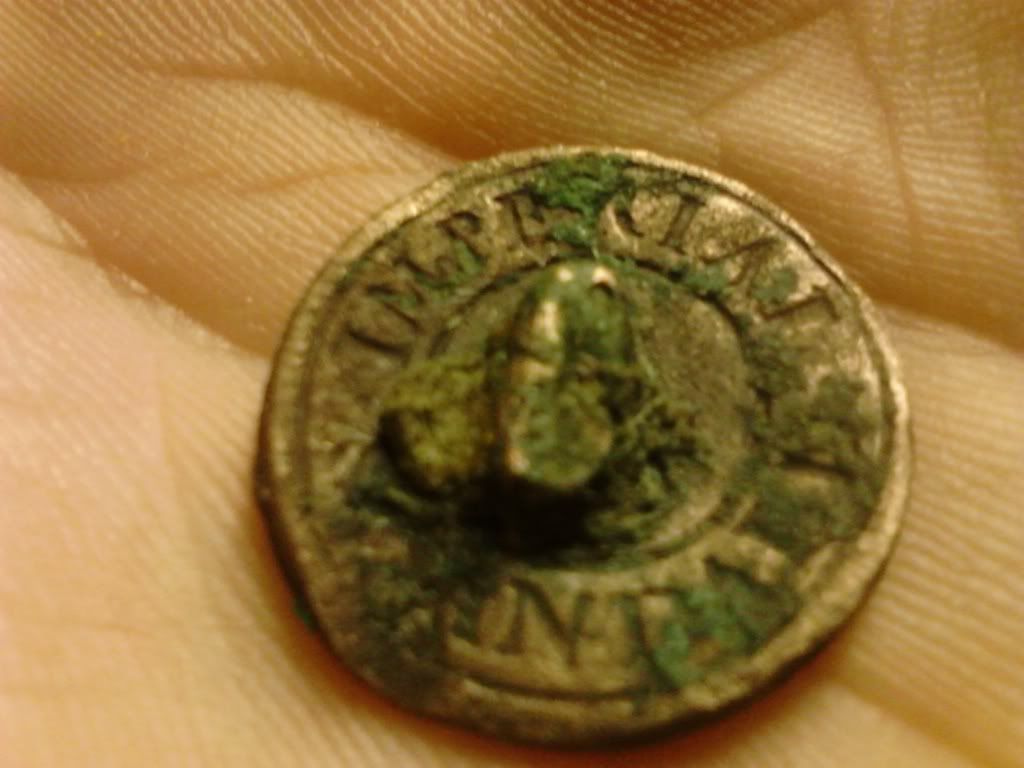
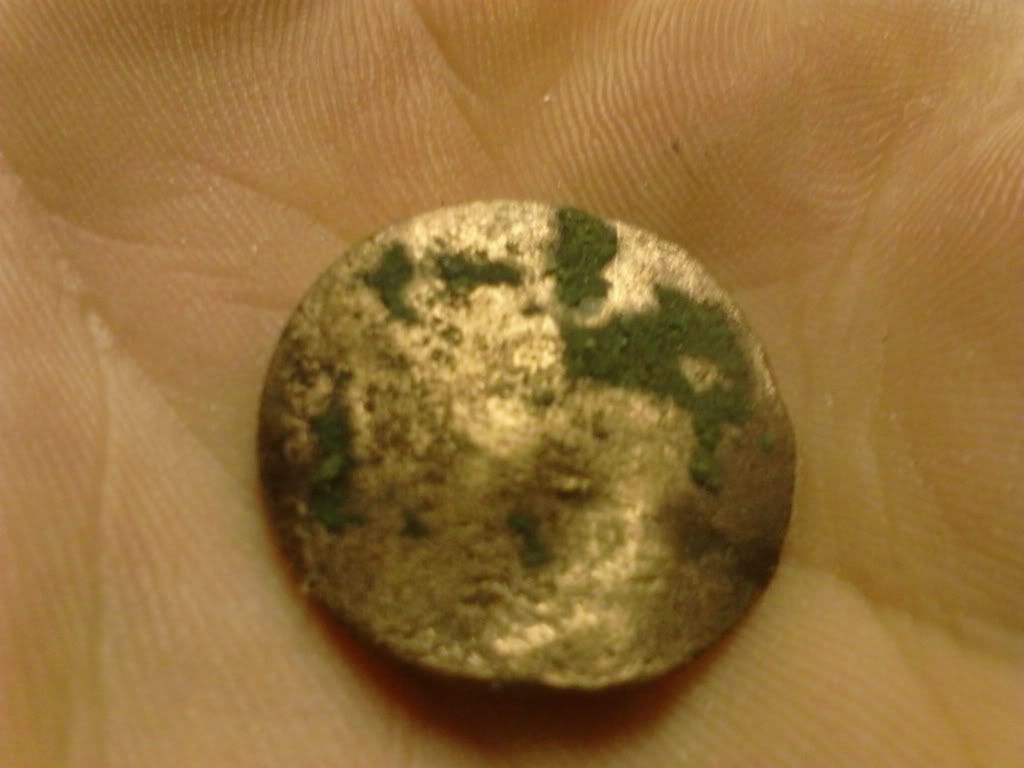
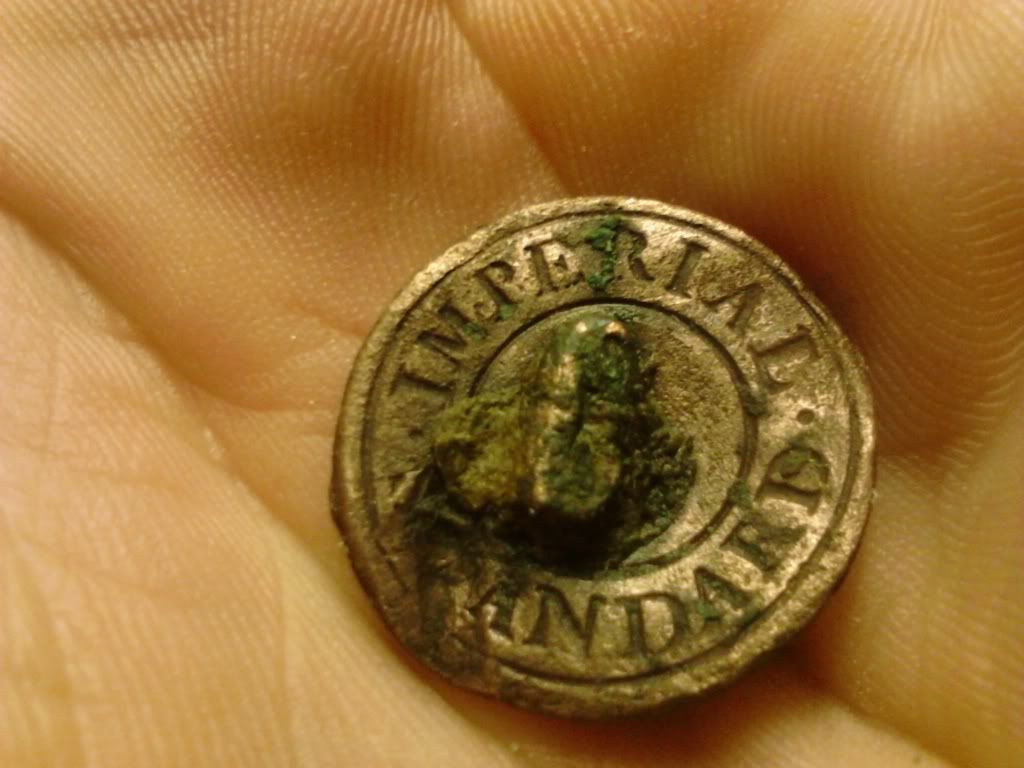
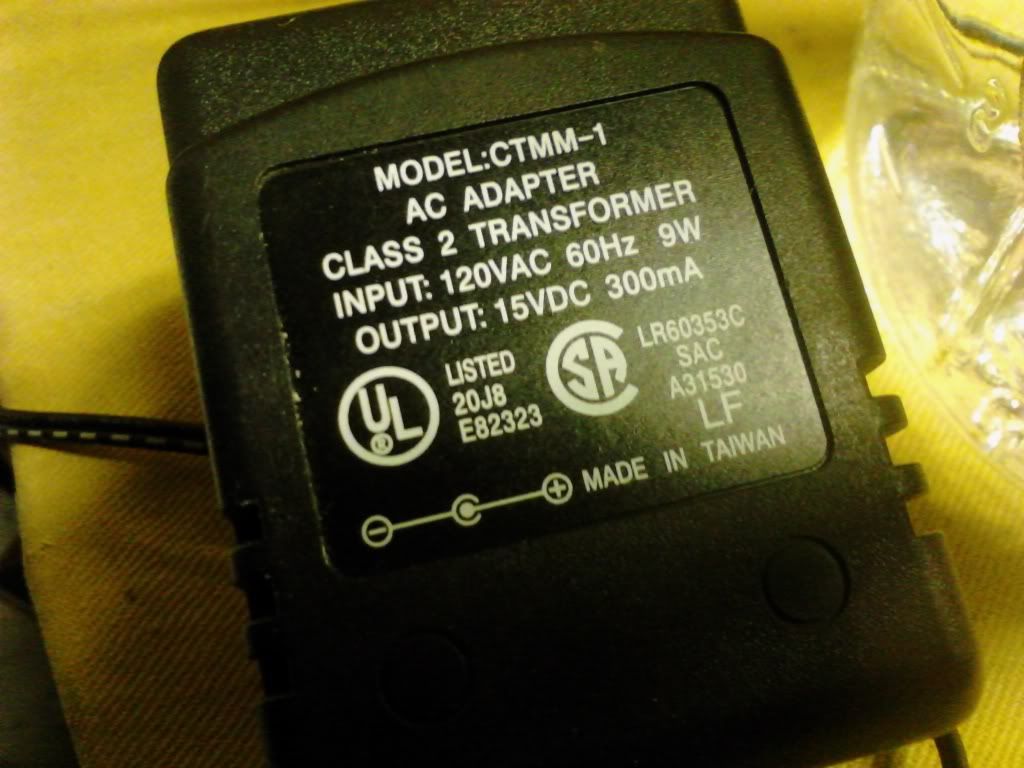
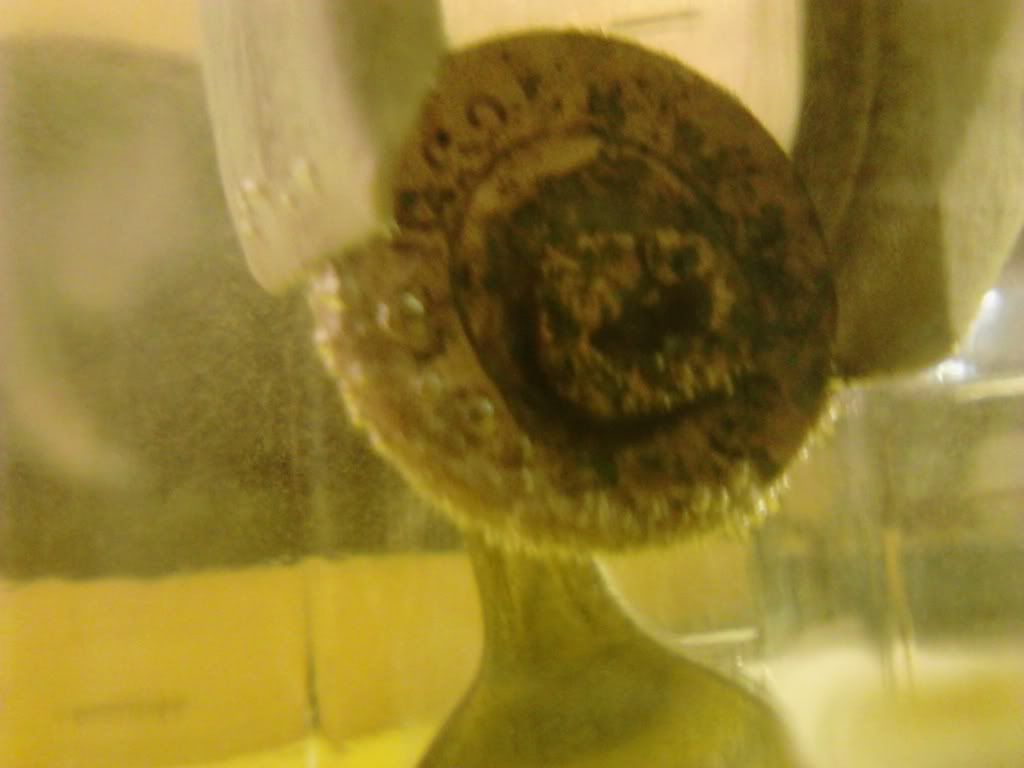
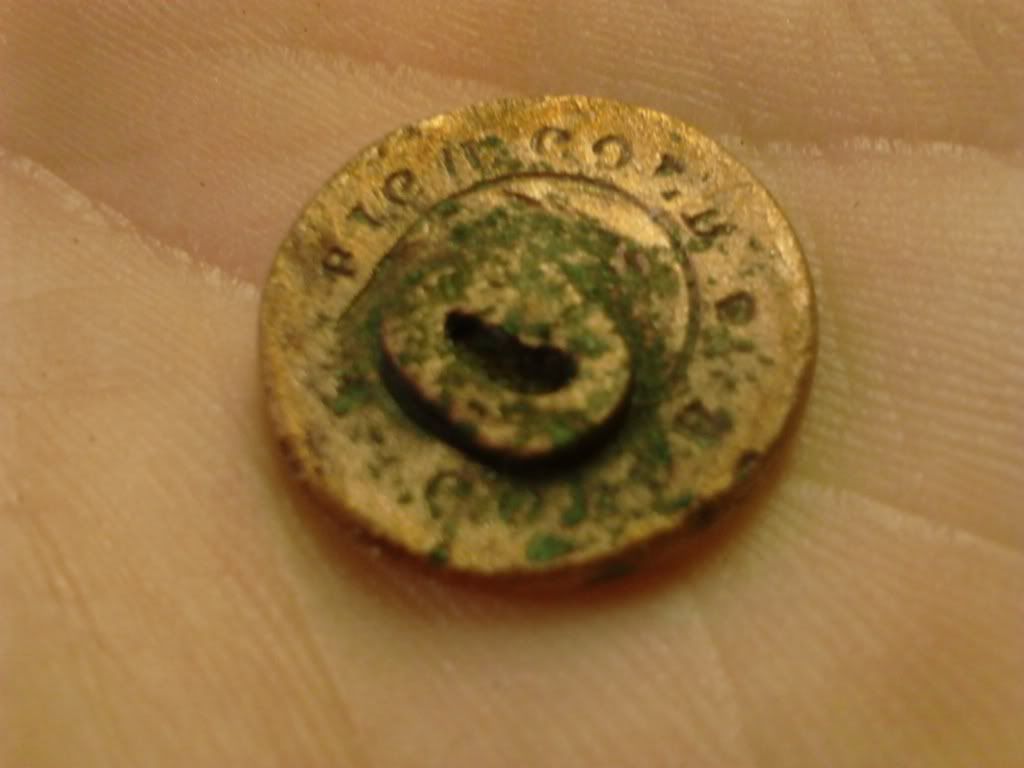
 I have not seen that charger, do you know what it came with originally or was it a kitchen drawer find?
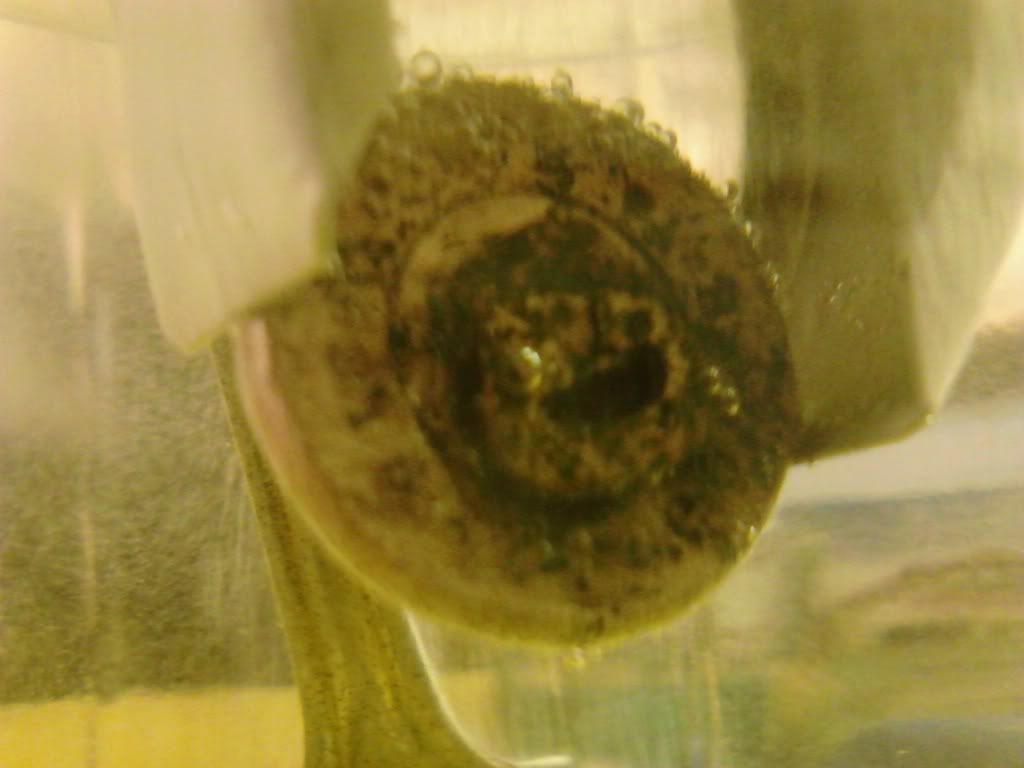