ATDigger
Senior Member
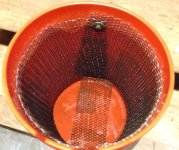
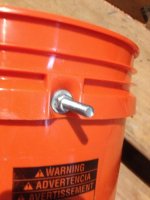
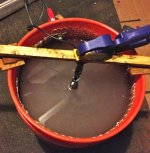
So here's my electro set up (sorry about the pics, I took them at night). It's pretty straightforward - I just wrapped a 5 gal bucket with expanded steel mesh and ran a bolt with washers through the side of the bucket to act as a single contact point. The object(s) is(are) then suspended by hooks or clamps in the water/washing soda solution. I'm using a manual Sears 12-volt, 2amp/10amp auto battery charger for power.
These are the first two items I did and I think they turned out pretty good. After electrolysis, I hit them with a wire brush then rinse and pat dry. I then drop them in a hot crock pot of melted paraffin. This serves the dual purpose of driving off the remaining water (the paraffin's hotter than the boiling point of water) as well as sealing the metal against future oxidation.
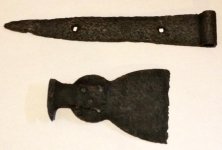
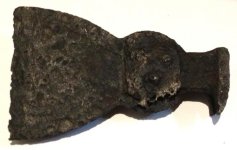
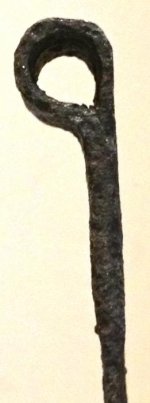
While I don't think the hatchet head is too old, the hinge strap (likely from a shutter) is definitely hand wrought. You can see where the iron was folded over and hammered together. It came out of the yard of an 1830s house.
Let me know what you think. And, as always, thanks for looking!!
*


These are the first two items I did and I think they turned out pretty good. After electrolysis, I hit them with a wire brush then rinse and pat dry. I then drop them in a hot crock pot of melted paraffin. This serves the dual purpose of driving off the remaining water (the paraffin's hotter than the boiling point of water) as well as sealing the metal against future oxidation.


While I don't think the hatchet head is too old, the hinge strap (likely from a shutter) is definitely hand wrought. You can see where the iron was folded over and hammered together. It came out of the yard of an 1830s house.
Let me know what you think. And, as always, thanks for looking!!
*


 Sorry!
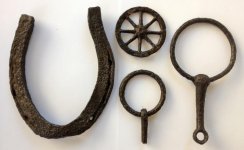

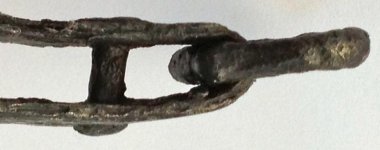
 How hot does your crock pot get the paraffin? I'm thinking of doing this with a few cannonballs and grapeshot. I might bake the cannonballs in a oven then just give them a bath in the paraffin
 Is it to loosen rust or do you mean after electrolysis? Either way, if you don't get all the rust off before you coat in paraffin, it will continue to rust under the paraffin.