hobbes_lives
Forum Supporter
You can tell the kid in the picture is an early treasure hunter. He is already digging for gold! 

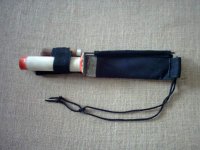
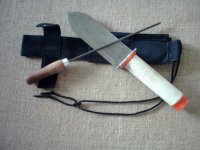
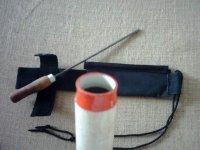
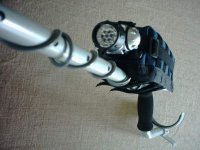
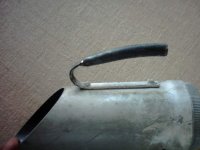
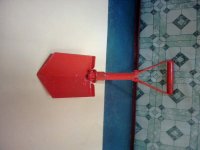
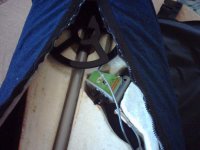
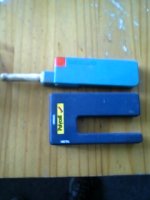
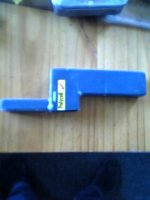
") I inserted a piece of white p.v.c on the stainless steel handle for firm grip. Works well for most hard soil.
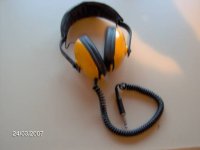
I inserted a piece of white p.v.c on the stainless steel handle for firm grip. Works well for most hard soil. I don't personaly do the welding. There are different units available from the cheapest to the most expensive. . Metal detecting is really a great hobby. You always have to do something new to improve the hobby and you never get bore. The pinpointer you show us is on its way in our workshop. will send you some pics as soon as its completed. The yellow headphones looks very strong and what a good idea to use ear defenders, it will stop outside noise and will help you to hear the faint signals. This one too is going to our next project.