OK, base paint on right side of stock and more!
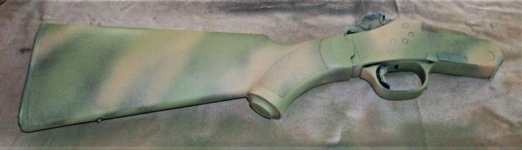
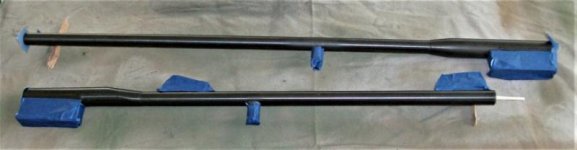
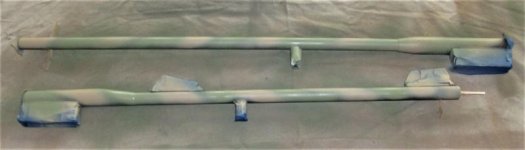
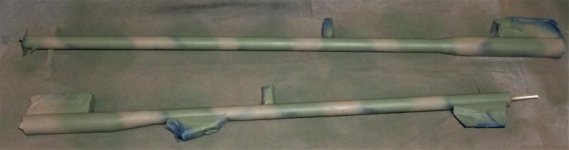
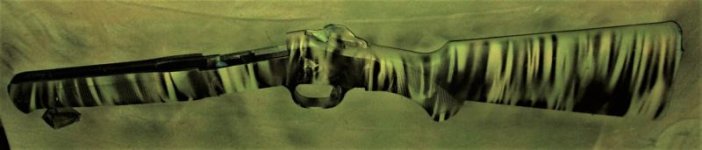
First picture is the base camo paint on the right side of the stock, no grass pattern yet! Stock and receiver will get grass paint treatment tomorrow, when both sides are dry!
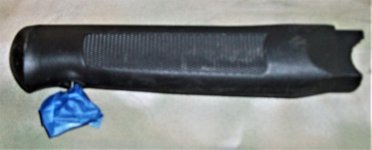
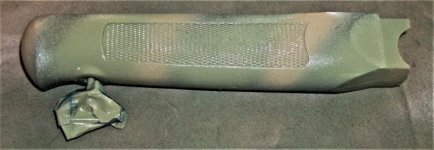
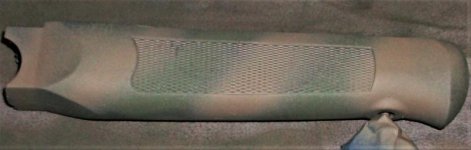
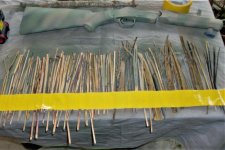
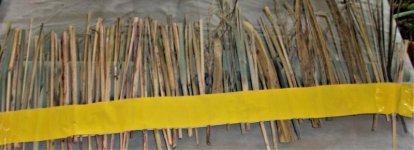
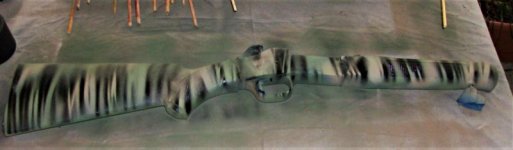
Also two pics of the forestock, first with masking tape on sling swivel and second with camo base coat on left side of forestock! The right side of the forestock will be base painted tomorrow also!
Enjoy! These will dry today and KT will work on this project again tomorrow!
First picture is the base camo paint on the right side of the stock, no grass pattern yet! Stock and receiver will get grass paint treatment tomorrow, when both sides are dry!
Also two pics of the forestock, first with masking tape on sling swivel and second with camo base coat on left side of forestock! The right side of the forestock will be base painted tomorrow also!
Enjoy! These will dry today and KT will work on this project again tomorrow!